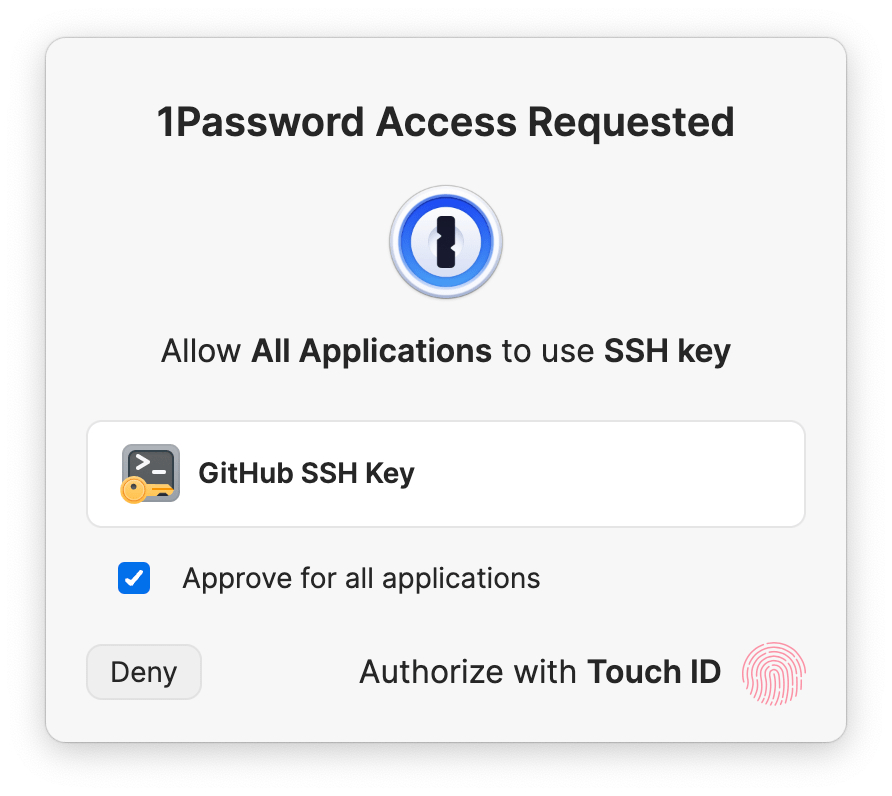
Your SSH key can now be used to authenticate with GitHub.
For examples using other Git or cloud platforms, see [Autofill public keys](/ssh/public-key-autofill/).
Your SSH key can now be used to authenticate with GitHub.
For examples using other Git or cloud platforms, see [Autofill public keys](/ssh/public-key-autofill/).